The Hot Dawg is here

Here’s some info on the newest member of the Li’ll Dawg family, & it’s the Hot Dawg which is based on the blackface Bassman circuit. It’s equipped with the normal channel only but the tone stack has been expanded to treble, middle bass which offers more flexibility in fine-tuning the amp’s tone. The Hot Dawg is offered in outputs of 12-50 watts in a head cab or 12-35 watts in a 1×12 combo. So here’s some pics of the first production build going to my friend Matt in FL for use as a 1×12 combo pedal platform for his line of pedals “Stomp Under Foot”.

6G15 Reverberator

I’ve offered the 6G15 stand alone reverb as part of my line up in the past when I was doing my own cabs here, but never really pushed them once I began outsourcing my cabs. So it seemed timely right now to offer them again & here’s the first look at what I call the Li’l Dawg Reverberator.

While this one is done in the traditional brown cosmetics it’s also available in tweed, black, or other colors as well. While I like the chicken head knobs myself, I know a lot of folks prefer the barrel knobs so you get a choice on that as well.

reverb unit front

reverb unit rear

reverb unit with chassis

Single channel AA165 Bassman LunchBox

Then I was asked about a single channel blackface AA165 Bassman, and this time the order was for a LunchBox head. The upgrades were a 50 watt 2/4/8 ohm multi-tap OT, and I surprised myself when I agreed to add an effects loop which I very seldom do. After talking with the customer about the loop I decided that it would be very useful to him so we added it to the build sheet.

tim's finished amp front

tim's finished amp rear

tim's finished amp rr

tim's finished amp rr

tim's finished amp bottom

non-reverb WonderDawg LunchBox

I recently had a request by someone for a single channel, non-reverb amp that used the blackface AB763 circuit as the platform, and it needed to be a small head with 25 watts of output. After some discussion we settled on the WonderDawg for the platform to begin with, and after removing the reverb portion of the circuit I was able to fit the circuit into a 12×8 enclosure which was exactly what the customer was hoping for. One of the added benefits of this amp was that with the transformer set used it’s also possible to re-bias for use with 6V6GT, 5881, or 6L6GC power tubes. The amp does have external taps & adjustment pot for biasing without the need to remove the cage or bottom, or the need for an amp tech as I sent along detailed instructions of the process as well as pics of it being done on the amp to the customer.

WD LB lfWD LB rr

WD LB frontWD LB rear

WD LB bottom

How to Bias a Wonderdawg

Biasing is simple to do and I’ll start with the formula first. There are two different voltages that you’ll be checking and your meter should be able to read both DCV (at least 500 VDC) & DCmV (200 mV DC) which are common to most digital meters. I also suggest using a clip on the ground lead so you only have to have one hand inside the chassis at a time.

There is a standard called maximum plate dissipation (MPD) and your power tubes should run somewhere between 50-70% MPD. In the case of the 6V6GT the MPD is 14 watts. So the formula goes as follows: 14 watts x 70% = 9.8 watts. Then 9.8 watts / plate voltage = bias in mV. So here’s an example of that with the plate voltage being 415 VDC. 9.8 / 415 = .0236 or 23.6 mV. You’ll find that as you adjust the bias to 23.6 mV you may see the plate voltage change as well, so you do the math again and after a couple times back & forth. Another aspect is if one tube draws more current than the other like 22mV & 25 mV, then you want to balance the bias in the middle between them.

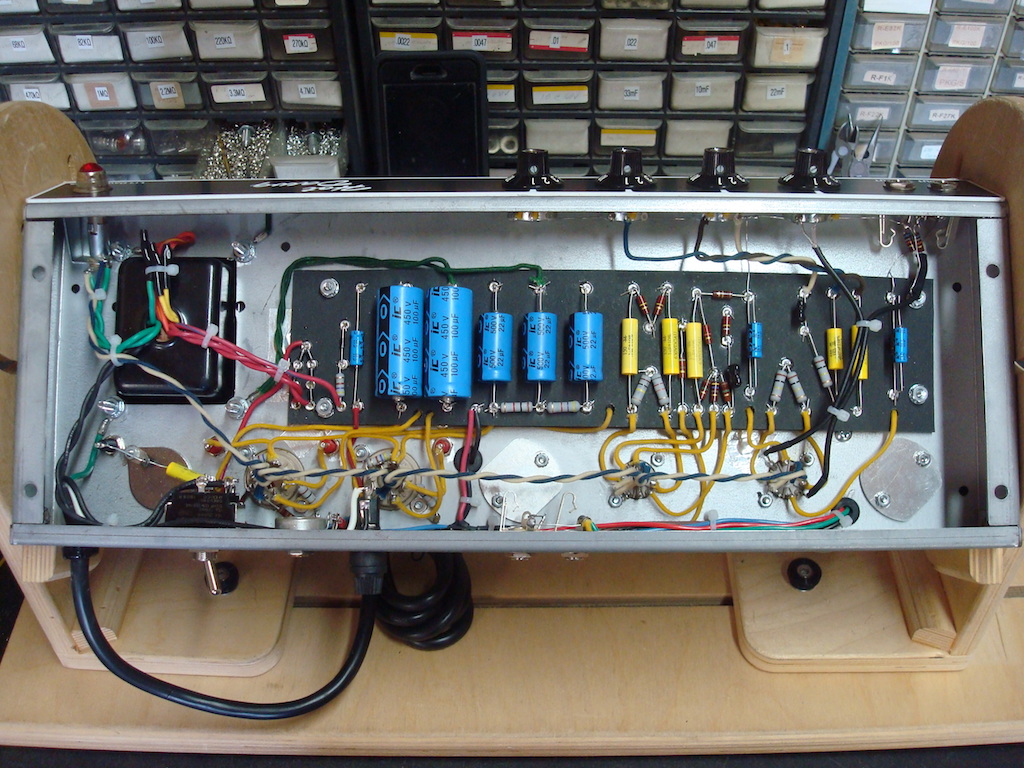
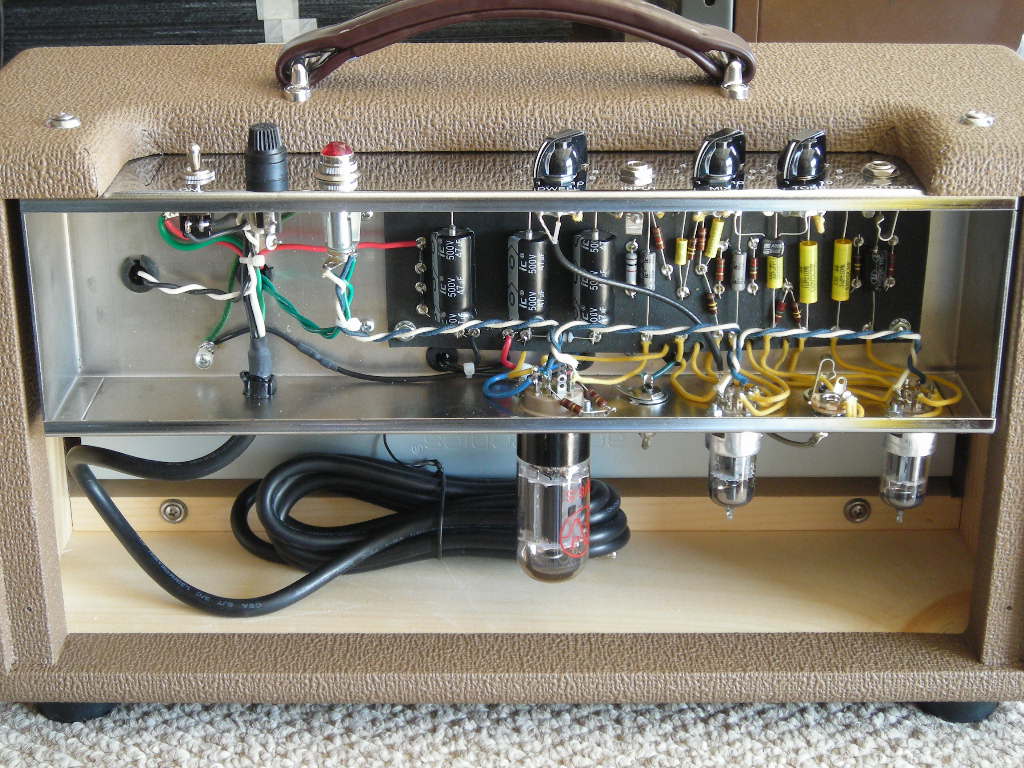
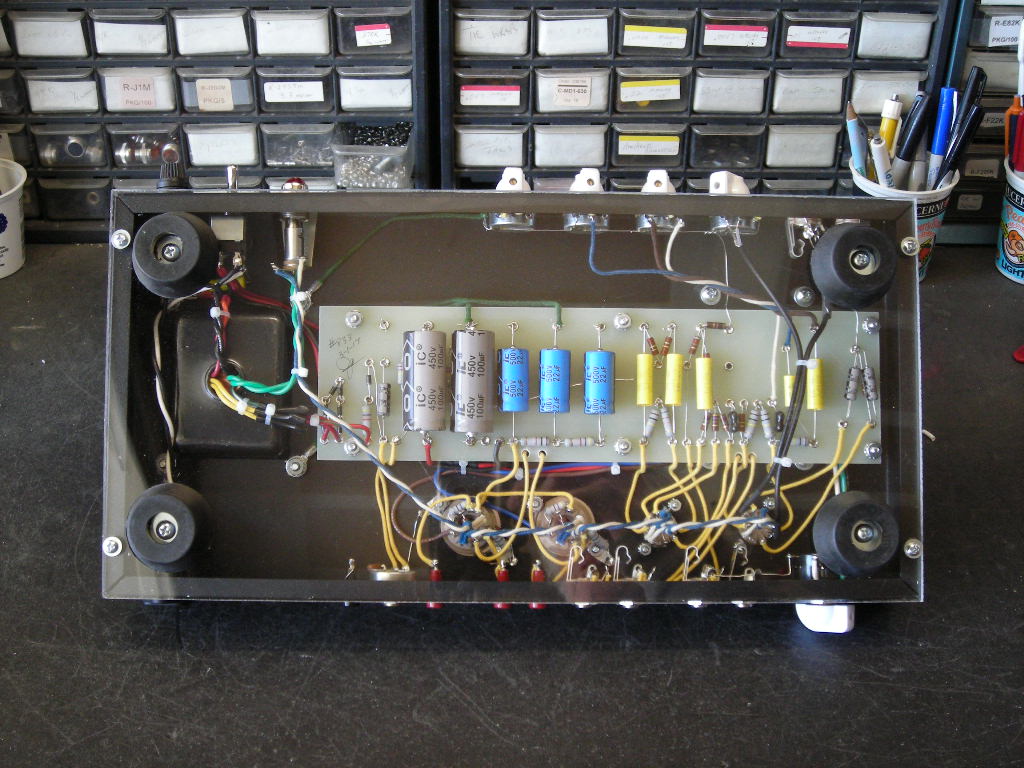
So here is a pic of where your bias adjustment pot is located.

 bias adjustment pot

bias adjustment pot

Then the ground location.

ground location

ground location

Next is where you measure the plate voltage.

plate voltage

plate voltage

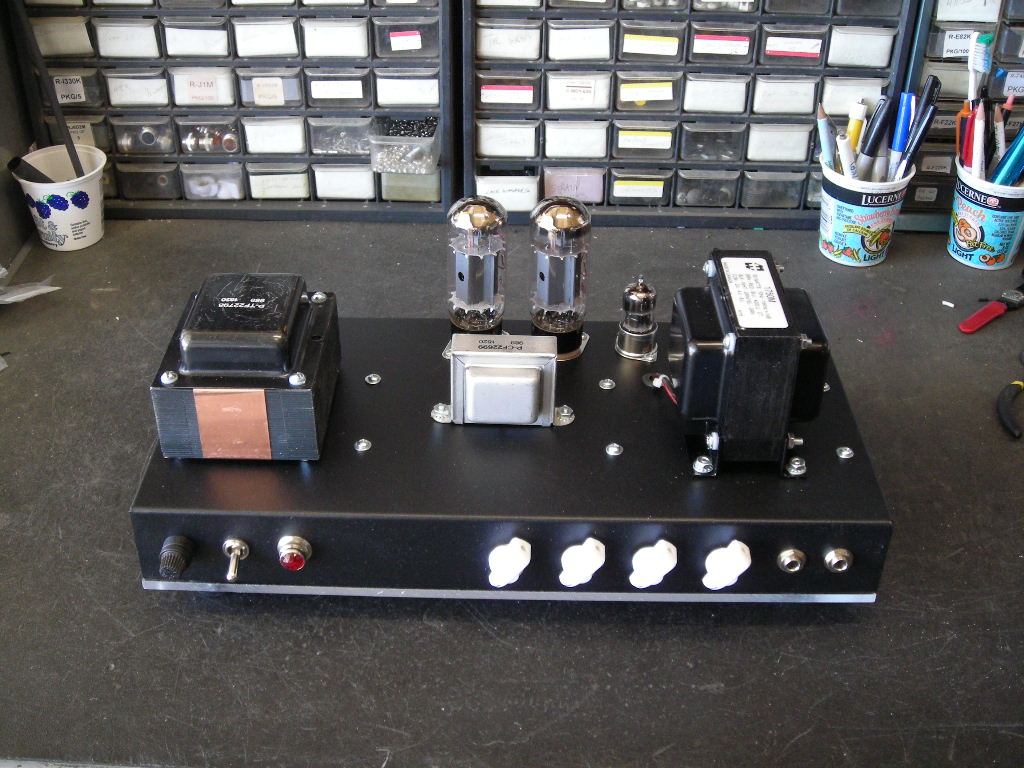
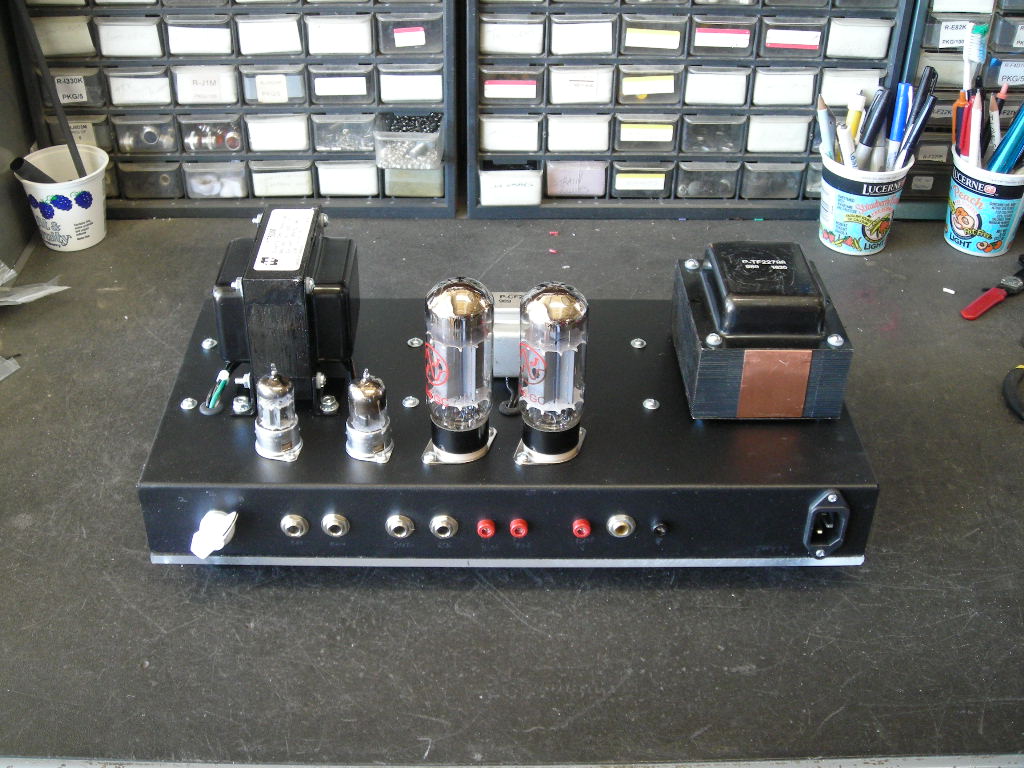
Now where to measure the bias on each power tube, and it’ll be measured on the 200mV scale between the tube socket and the resistor going to ground.

measure the bias on each power tube

measure the bias on each power tube


measure the bias on each power tube

measure the bias on each power tube

Now measuring the plate voltage.

Now measuring the plate voltage.

Now measuring the plate voltage.

Now measuring the bias voltage on each power tube.

Now measuring the bias voltage on each power tube.

Now measuring the bias voltage on each power tube.


Now measuring the bias voltage on each power tube.

Now measuring the bias voltage on each power tube.

That’s all there is to it, and it shouldn’t take any more than a couple of minutes to re-bias the amp when swapping the rectifier or power tubes.

Blackface Amps

Featured

Lil Dawg Blackface Maps

The Wonderdawg – Lil Dawg’s first blackface amp!

I had been interested in adding one of the AB763 blackface circuits to the line-up for a while now, but also wanted it to be a unique and versatile platform as well. What I decided on was a single channel circuit with reverb voiced as a Deluxe Reverb but I married it to the Super Reverb tone stack so it now has the middle control, and since the amp only has the single channel I was able to fit it into a Princeton Reverb cab & chassis.

Since I wondered what the amp would sound like when I put the prototype together the name “WonderDawg” seemed like the right one for this build and so far the reviews from the field testing has been very good. The amp turned out having great tone as well as being unique, versatile, compact, & lightweight which is exactly what I was hoping.

read more >>